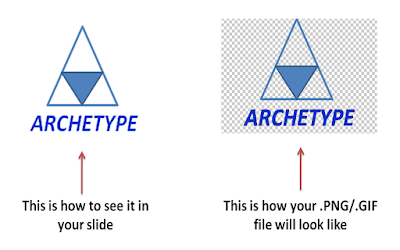
If you create a logo on the slide and save it as picture (.PNG or .GIF), you will find that your logo will have empty space. Let us say, you have designed this fictitious logo in PowerPoint.

As you can see, saving the image as .PNG/.GIF will mean that your logo will have empty spaces. How do you fill the empty space with the colour white?
One solution is to save the image as .BMP or .JPEG. But the problem with this solution is that .BMP is a bulky format and increases the file size of your picture. .JPEG should not be used in this case because it distorts the text. To read more on this click here.
The second solution, the one I use is like this:
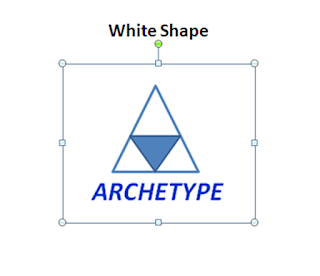
Step-1 Insert a white shape and place it over the logo unit (shape and text).
Step-2 Click on the white shape and send it to back.
Step-3 Group the logo unit and the white shape.
Step-4 Save as picture.
 In case of this logo, I have created a rectangular white space (shown in blue above) and placed it below the logo unit. This way we will have the white colour wherever there was empty space earlier.
No comments :
Post a Comment